
Faux Floor Tiles: Pimp my Bedchamber, pt. 2
/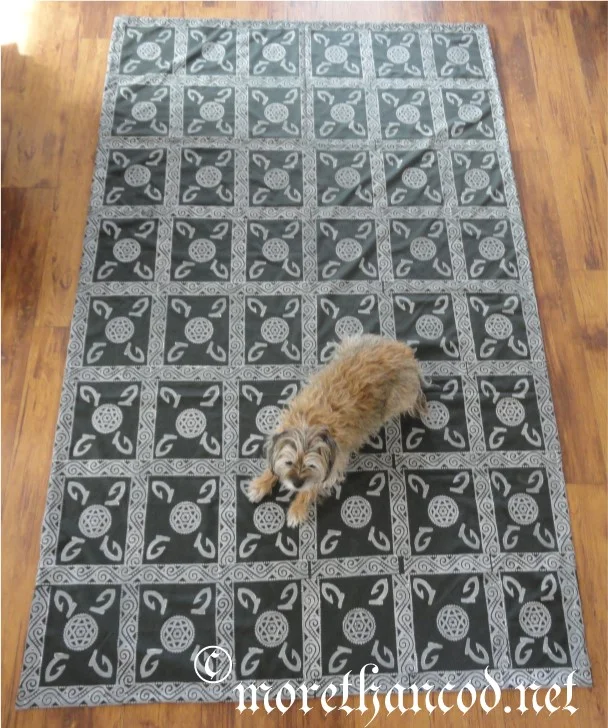
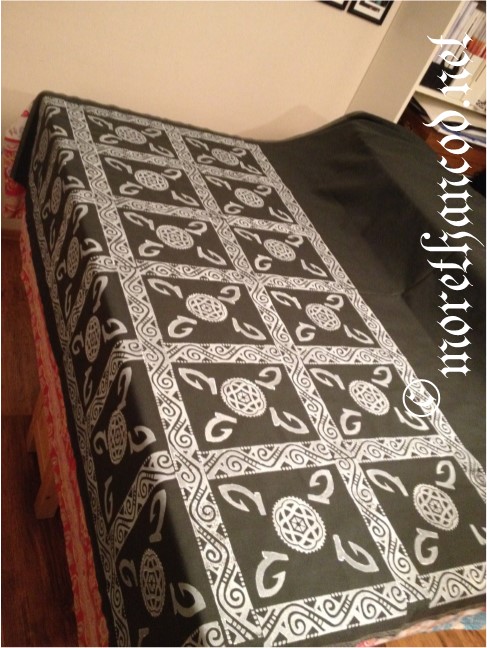
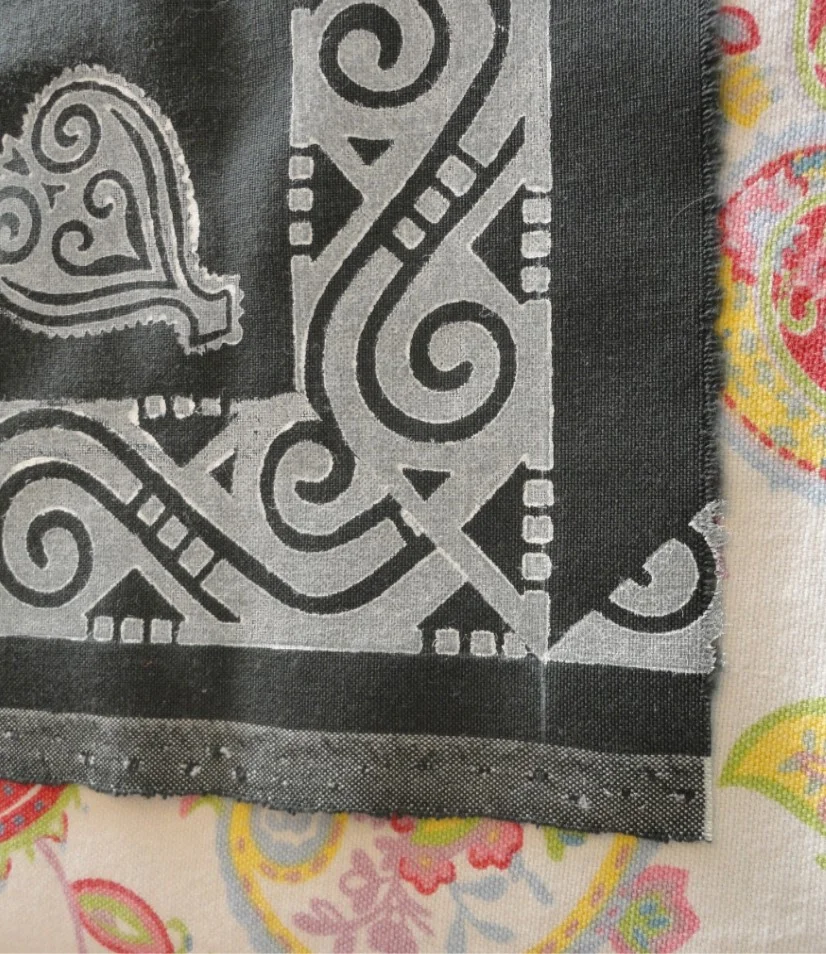
Full image of floor covering. FiberDog for scale.
In an earlier post , I presented the completed Pimp my Bedchamber project. In this post I will talk a bit about the production of the ‘faux tile’ floor covering.
What this is not
The goal was to create a light weight, hard-wearing, and decorative flooring. I make no claims to it being anything more than loosely ‘historically inspired’, with a nod to ceramic floor tiles. Look at this example from Cleeve Abbey in England (third image down) or these two from Mont St. Michel Monastery in France (see Refractory, eleventh image from top, and Floor Design, eighth from bottom) . The FaceBook group Printed Textiles in the Middle Ages is a good resource for anyone working with fabric printing, from ‘inspired’ to historic recreation.
Preparation and trials
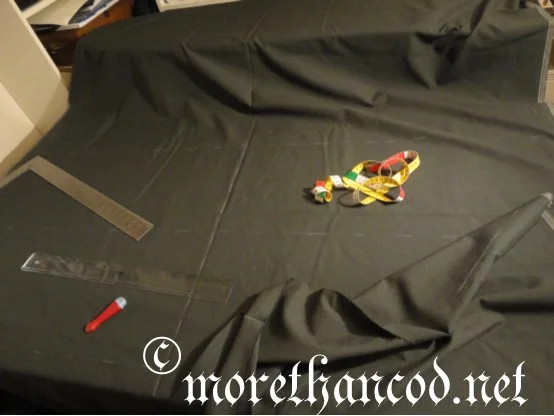
Rummaging in my cloth stash yielded a nice piece of hunter green fabric (40% Dacron/60% wool), most likely inherited from my grandmother and not likely to ever become clothing. This was pre-washed on the regular cycle at 40 c with Milo, a wool-friendly soap, then run through a low temperature tumble cycle. I wanted to make sure that I had abused the cloth sufficiently before printing, and fortunately there was no discernable difference after.
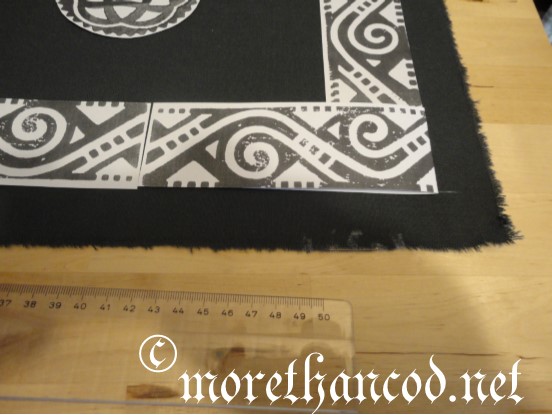
I have done block printing on sheep fells in the past. One great trick I was taught was to ‘map out’ the pattern using copies of the block’s imprint. This allows you to play with different spacing and pattern elements, as seen in the picture below to the left. The second photo illustrates an adjustment of the pattern and shortening one pattern element, folding to fit the space available. The final step was to mark the cloth with dressmaker's chalk to create coarse guidelines for the actual printing. A carpenter's square and long rulers are very useful for this task. Fail to do this step at your own peril (ask me how I know).
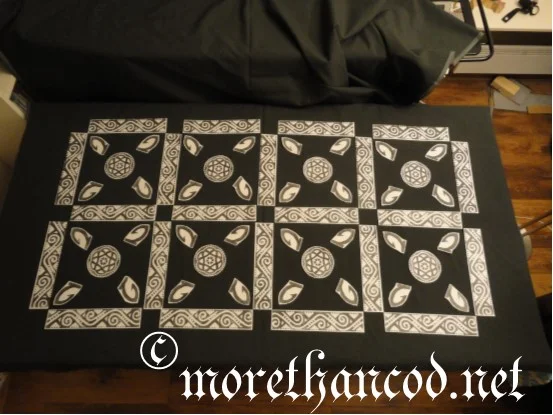
Trial layout
Adjusting length of mockup
Marking guidelines

Pigment trial: Fabric paint for light colors (on left) and house paint (on right)
The final trial was testing the printing medium. The original plan was to use fabric paint from the stash, but on closer inspection, I discovered it was the type for light-colored cloth. A trial printing (left half) proved that this paint was too transparent for such dark cloth. So on to Plan B: interior quality house paint, cheapest available in flat (10% gloss) white. The pigment coverage on the right is clearly superior.
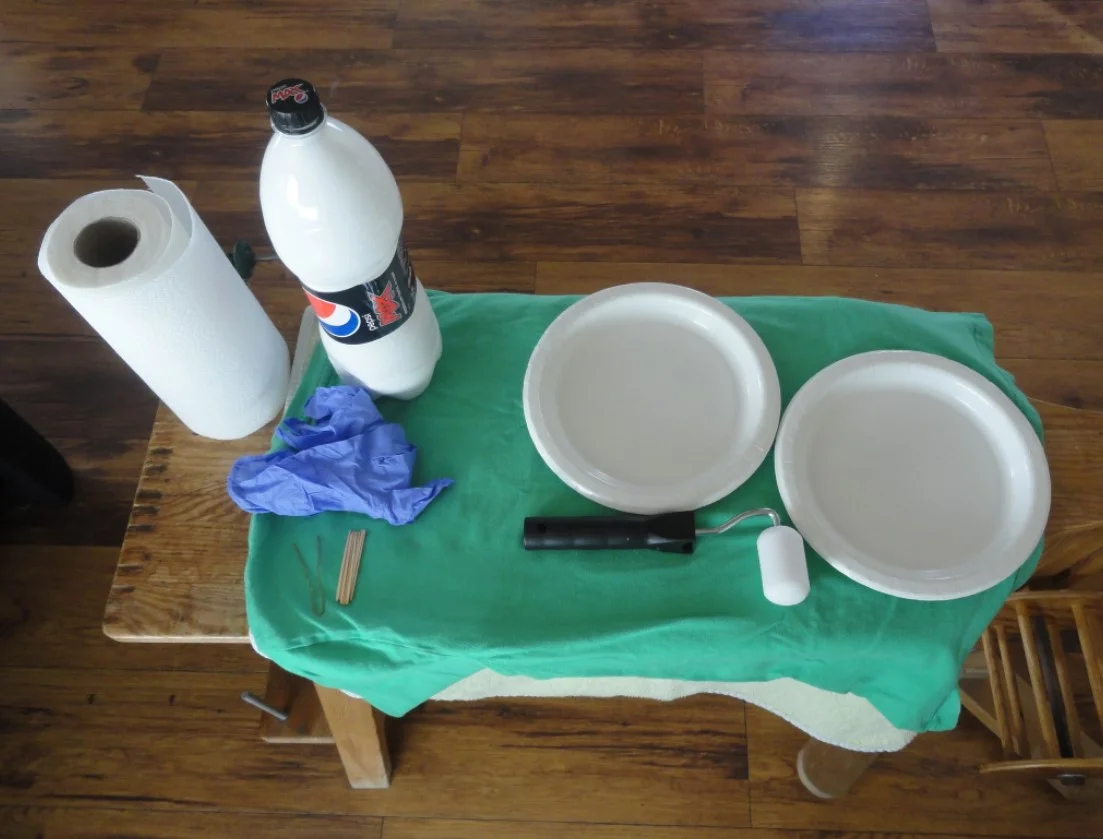
Tools of the trade
This is the basic set-up. I transferred the house paint to a bottle, making it possible to pour limited amounts of paint onto a paper plate. I rolled the sponge roller through a thin layer of paint to get it even before applying it to the print block. The old t-shirt on the bench is for doing test prints. Disposable gloves keep hands clean and can be changed whenever needed. Paper towels for basic clean up and tooth picks for cleaning details in the blocks when the paint gunks up. Not pictured is an old toothbrush for scrubbing the blocks during cleaning.
Basic workspace set-up
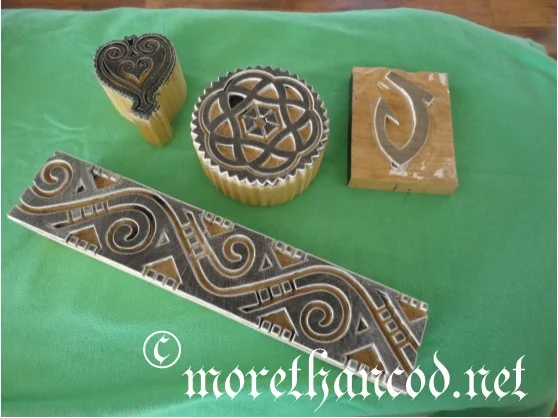
Printing blocks used
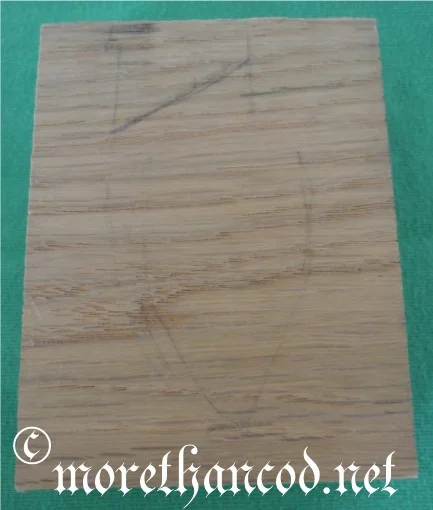
Back of handcarved block
I used three blocks to print the floor covering: a wave edge pattern, a ‘rose’ and a fish hook. For the second small mat, a ‘heart’ replaced the fish hook. I carved the fish hook block and it is a nod to my household badge. Beware: remember that any print block you make must be mirror image for the imprint to be correct. A rough sketch on the back of the block is also helpful when positioning during printing. The other three blocks are laser cut, commercially produced, and already in my collection.
A few words on process
Work in progress
I used three days to complete the printing in a process I would describe as “quick and dirty” rather than an exercise in perfection. Certainly good enough for a floor covering that will see rough use, as well as suited to my general lack of work space. I have one table long enough to take roughly the width of the cloth, and the rest is stacked on an ironing board in an attempt to keep FiberDog hair off the newly ironed surface. I covered the table with a few layers of old sheets for protection and to create a surface with some “give” for better printing.
The actual printing was worked from one short end of the cloth, from midline out toward the selvedges, first the “frames”, then the center rosette, and finally the fish hooks. I’m not sure I’m crazy about the house paint as a medium. The viscosity had a tendency to fill in smaller details on the blocks, and generally created a build-up on the blocks that needed to be scrubbed off every few rows. The interest group I mentioned above has suggestions of watering down house paint which I might try next time.
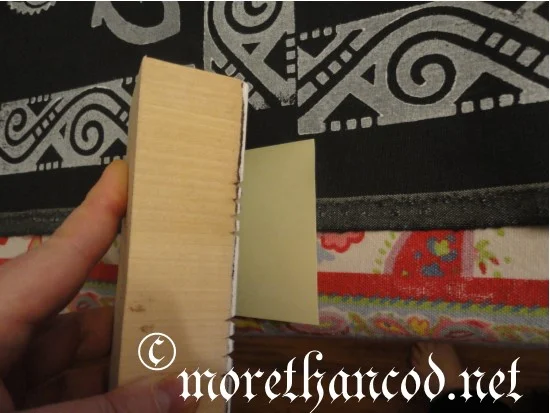
Compare the first two pictures at the top (the finished floor cover and the layout draft). I condensed the pattern on the final effort, covering nearly the full width of the cloth. This change resulted in the cross sections ending a couple of centimeters short of the side frame. I used a trick learned from printing on sheep fells of using sticky-notes to mask where the printing should end. Sticky-notes can also help create mitered corners, but don’t forget the second one to mask the selvedge!
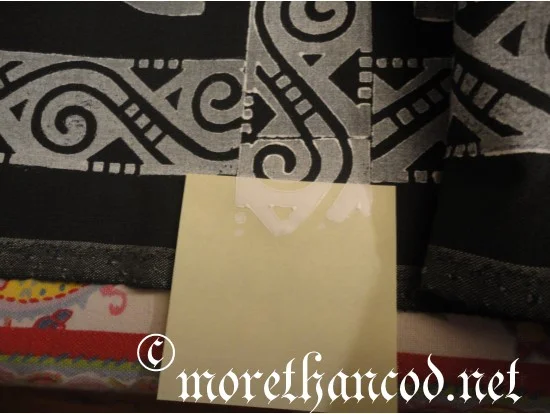
Sticky-note masking edge
Block printing over sticky-note
Masking for a mitered corner
Don't forget to mask the selvedge
Finishing and last thoughts
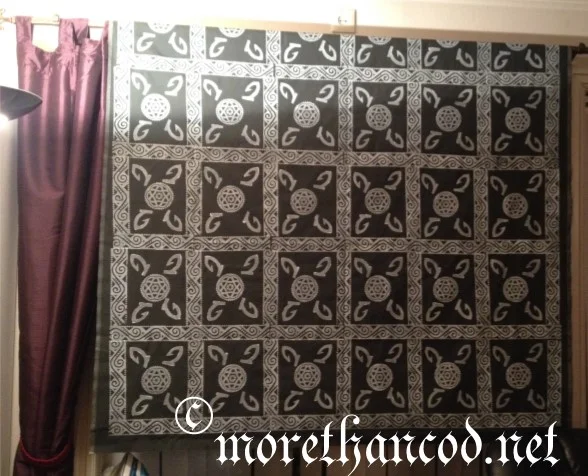
Curing the paint
I hung the floor throw over a curtain rod above a gentle heat source to cure for a few days to set the paint. The edges were then trimmed to 4 cm outside of the printed frame, turned under twice, then hemstitched by hand. The final size is ca. 150 x 240 cm, and it weighs ca. 900 g. I did not see any pigment loss when washed after the first use at Double Wars.
This is not a highly-researched, perfectly-executed project. It has given me experience in a new medium and resulted in a useful, decorative floor covering, adequate to its purpose. It also fulfilled the requirement of using tools and supplies from my stash, with only the purchase of one tin of paint. All-in-all, I am quite satisfied.
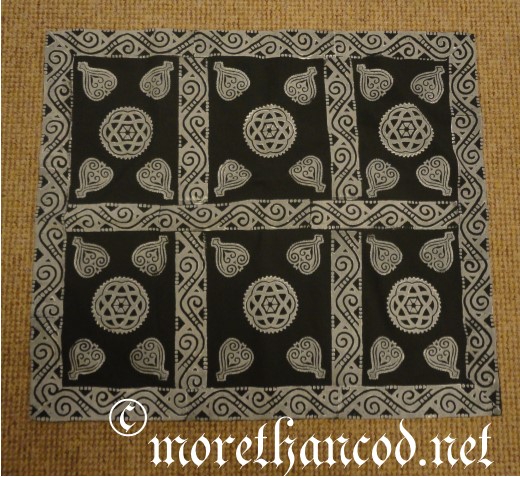
Small sample gifted to friends for use as a door mat in their tent